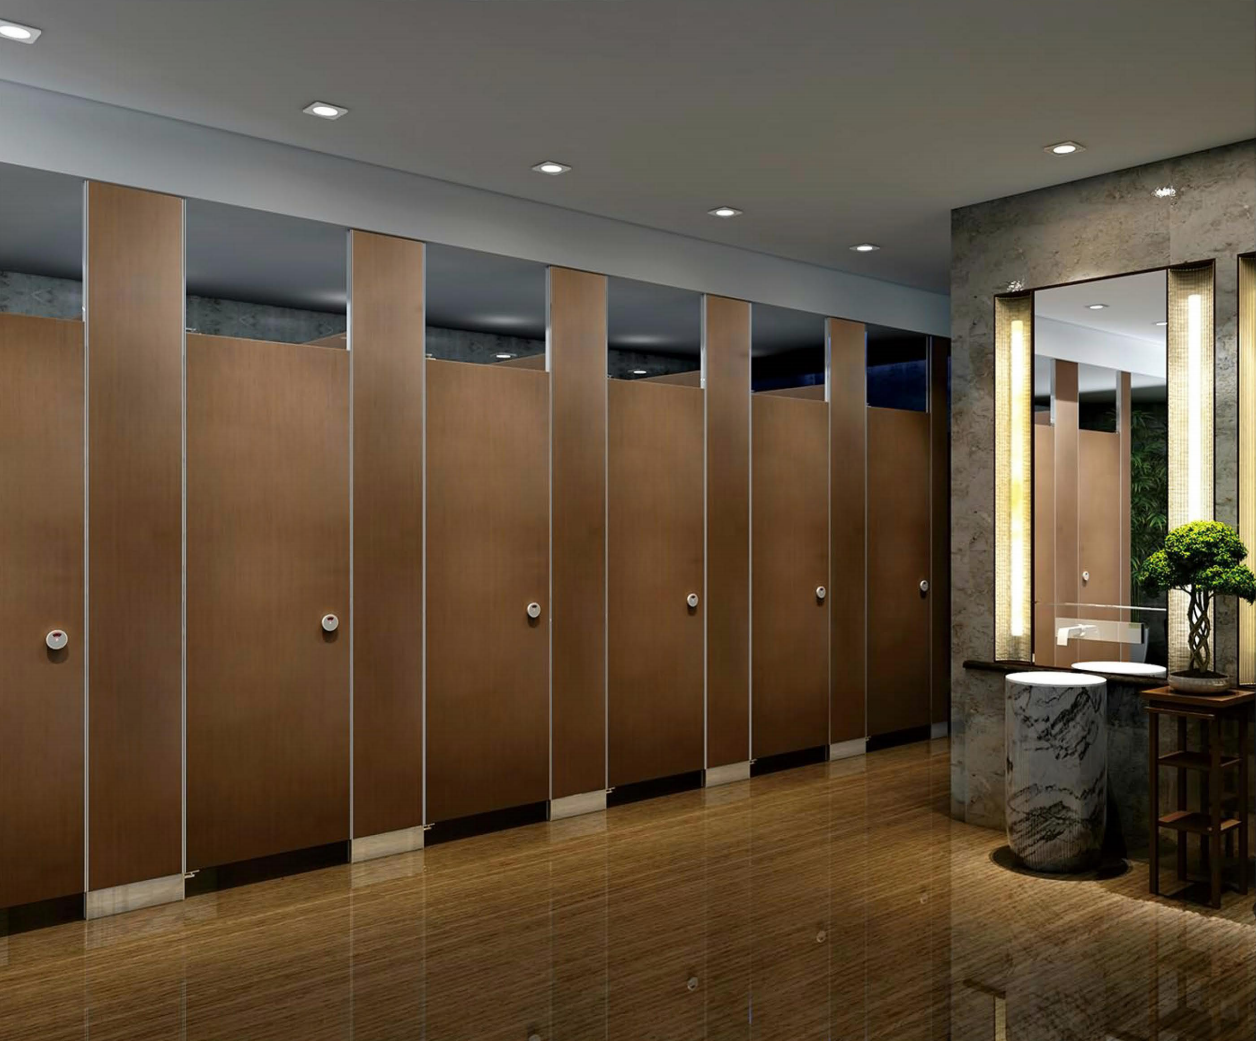


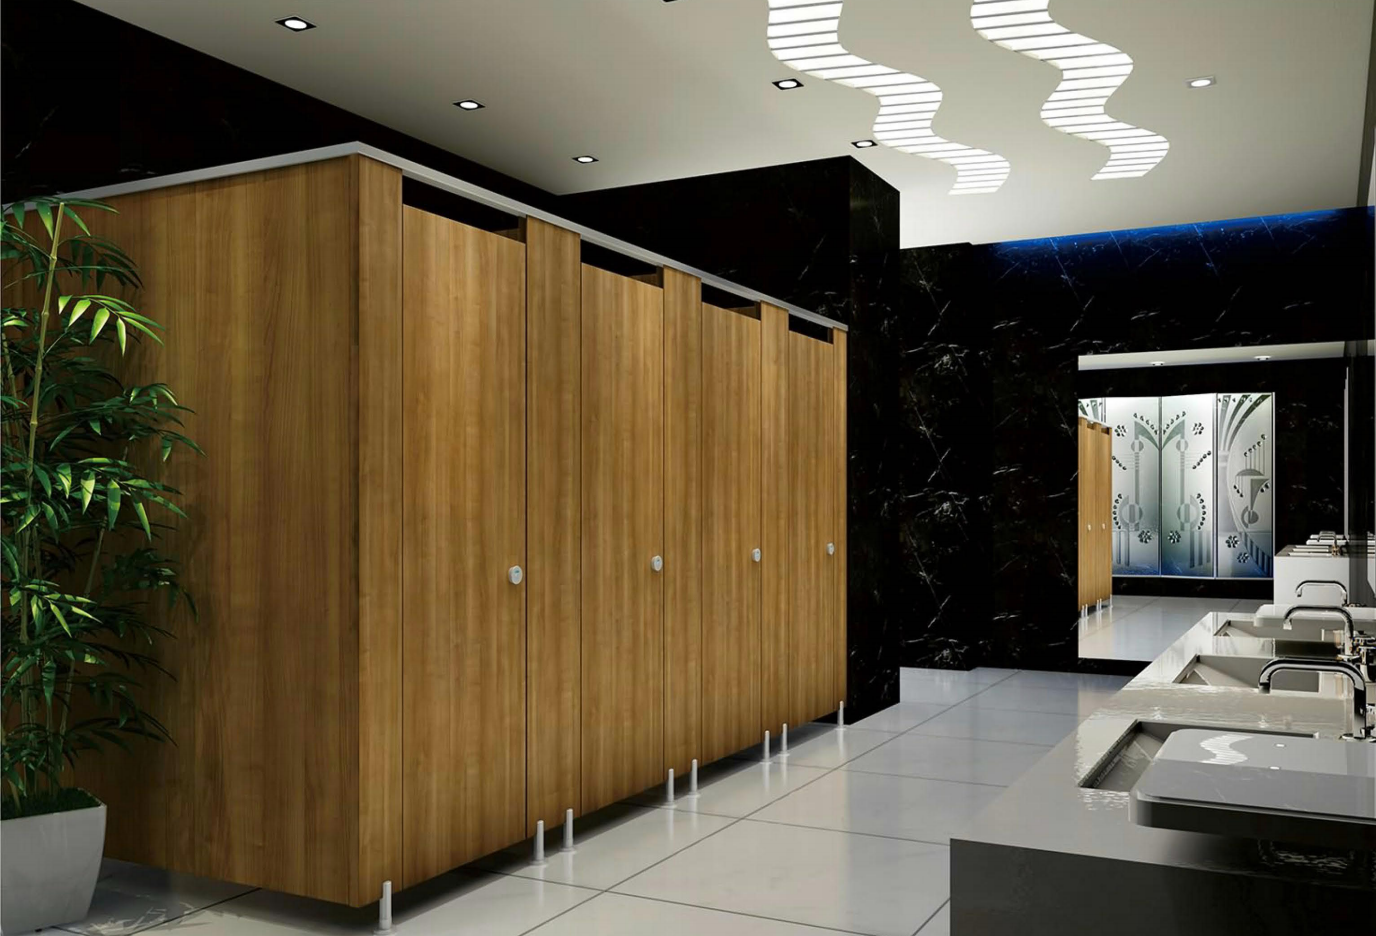
Proper installation is just as important as the quality of the materials when it comes to the longevity of commercial toilet partitions. A poorly installed cubicle system can lead to sagging doors, misaligned panels, and costly repairs down the line.
This guide provides a comprehensive overview of the standard installation process for both floor-mounted and ceiling-hung toilet partitions.
Phase 1: Pre-Installation Preparation
Before any hardware is mounted, verify the site conditions. This is the most common step where mistakes occur.
- Check the Floor Level: Floors must be level and structurally sound. If the floor is uneven, you will need to use shims or leveling compounds before mounting the brackets.
- Locate Studs: For wall-mounted brackets, always anchor into structural studs or masonry. Never anchor heavy partitions into drywall alone.
- Layout the Dimensions: Measure twice, cut once. Use a chalk line to mark the exact center of your panels on the floor and walls.
Phase 2: Hardware Mounting
The type of hardware you use depends on whether you chose a floor-mounted or ceiling-hung system.
- Floor-Mounted Systems: Secure the heavy-duty stainless steel "U-brackets" or "T-brackets" directly into the concrete or structural subfloor. Ensure they are perfectly plumb.
- Ceiling-Hung Systems: This is ideal for easy floor cleaning. Heavy-duty steel pilasters are anchored to the structural ceiling and wall, suspending the partitions above the floor.
Phase 3: Panel and Door Assembly
Once the hardware is secure, it's time to hang the panels.
- Attach the hinges to the doors before hanging them.
- Mount the pilasters (the vertical posts) first, ensuring they are level with one another.
- Hang the doors and ensure they swing freely. Adjust the top and bottom hinge pins as necessary to achieve a uniform gap between the door and the pilaster.
Post-Installation Checklist
Before handing the washroom over to the client, perform a final walk-through:
- Test every door latch to ensure it engages smoothly.
- Check all exposed screws and bolts to ensure they are tight.
- Install the coat hooks, bumpers, and door stops.
- Clean the panels with a mild soap and water solution to remove any installation fingerprints.
By following these steps, you ensure a safe, durable, and visually appealing washroom that will withstand the test of time.